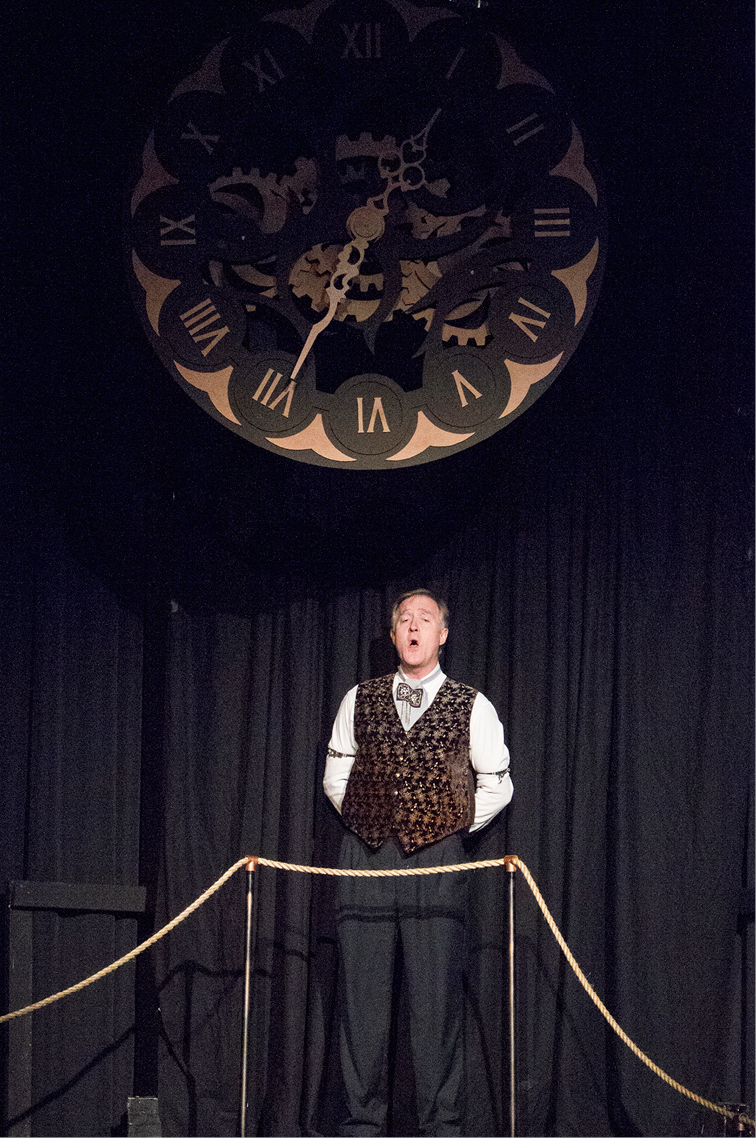
This steampunk style clock was built for a theatrical version of Around The World In 80 Days, produced by All For One Productions. The clock measures 5 feet in diameter and features electronic controls to set the time on stage between acts. The gears move via a pulley system to which the gears are attached.
Concept Development
The concept for this piece is based on a 2D image that I believe is originally a 3D animated screensaver from 3PlaneSoft.
Due to the fact that I only had 2 weeks to fully design and construct this prop, I decided to follow the above design closely. The idea was to mount a 12 VDC motor to the frame to power a series of pulleys that are connected to the gears and the hands. The effective gear ratio between the minute and hour hands was 12:1. This was accomplished by creating a compound gear system containing two 3.464:1 gear ratios. [3.464 is the square root of 12.] The pulley belts were made using Ø1/4" latex tubing with both ends connected via female to female barbed tube fittings like this. The latex tube was stretched 125% to provide enough tension for a good friction grip on the pulleys while being not so tight that the fittings pop out. A control box was designed so that the time could be set remotely and the clock would move in forward and reverse.
Construction
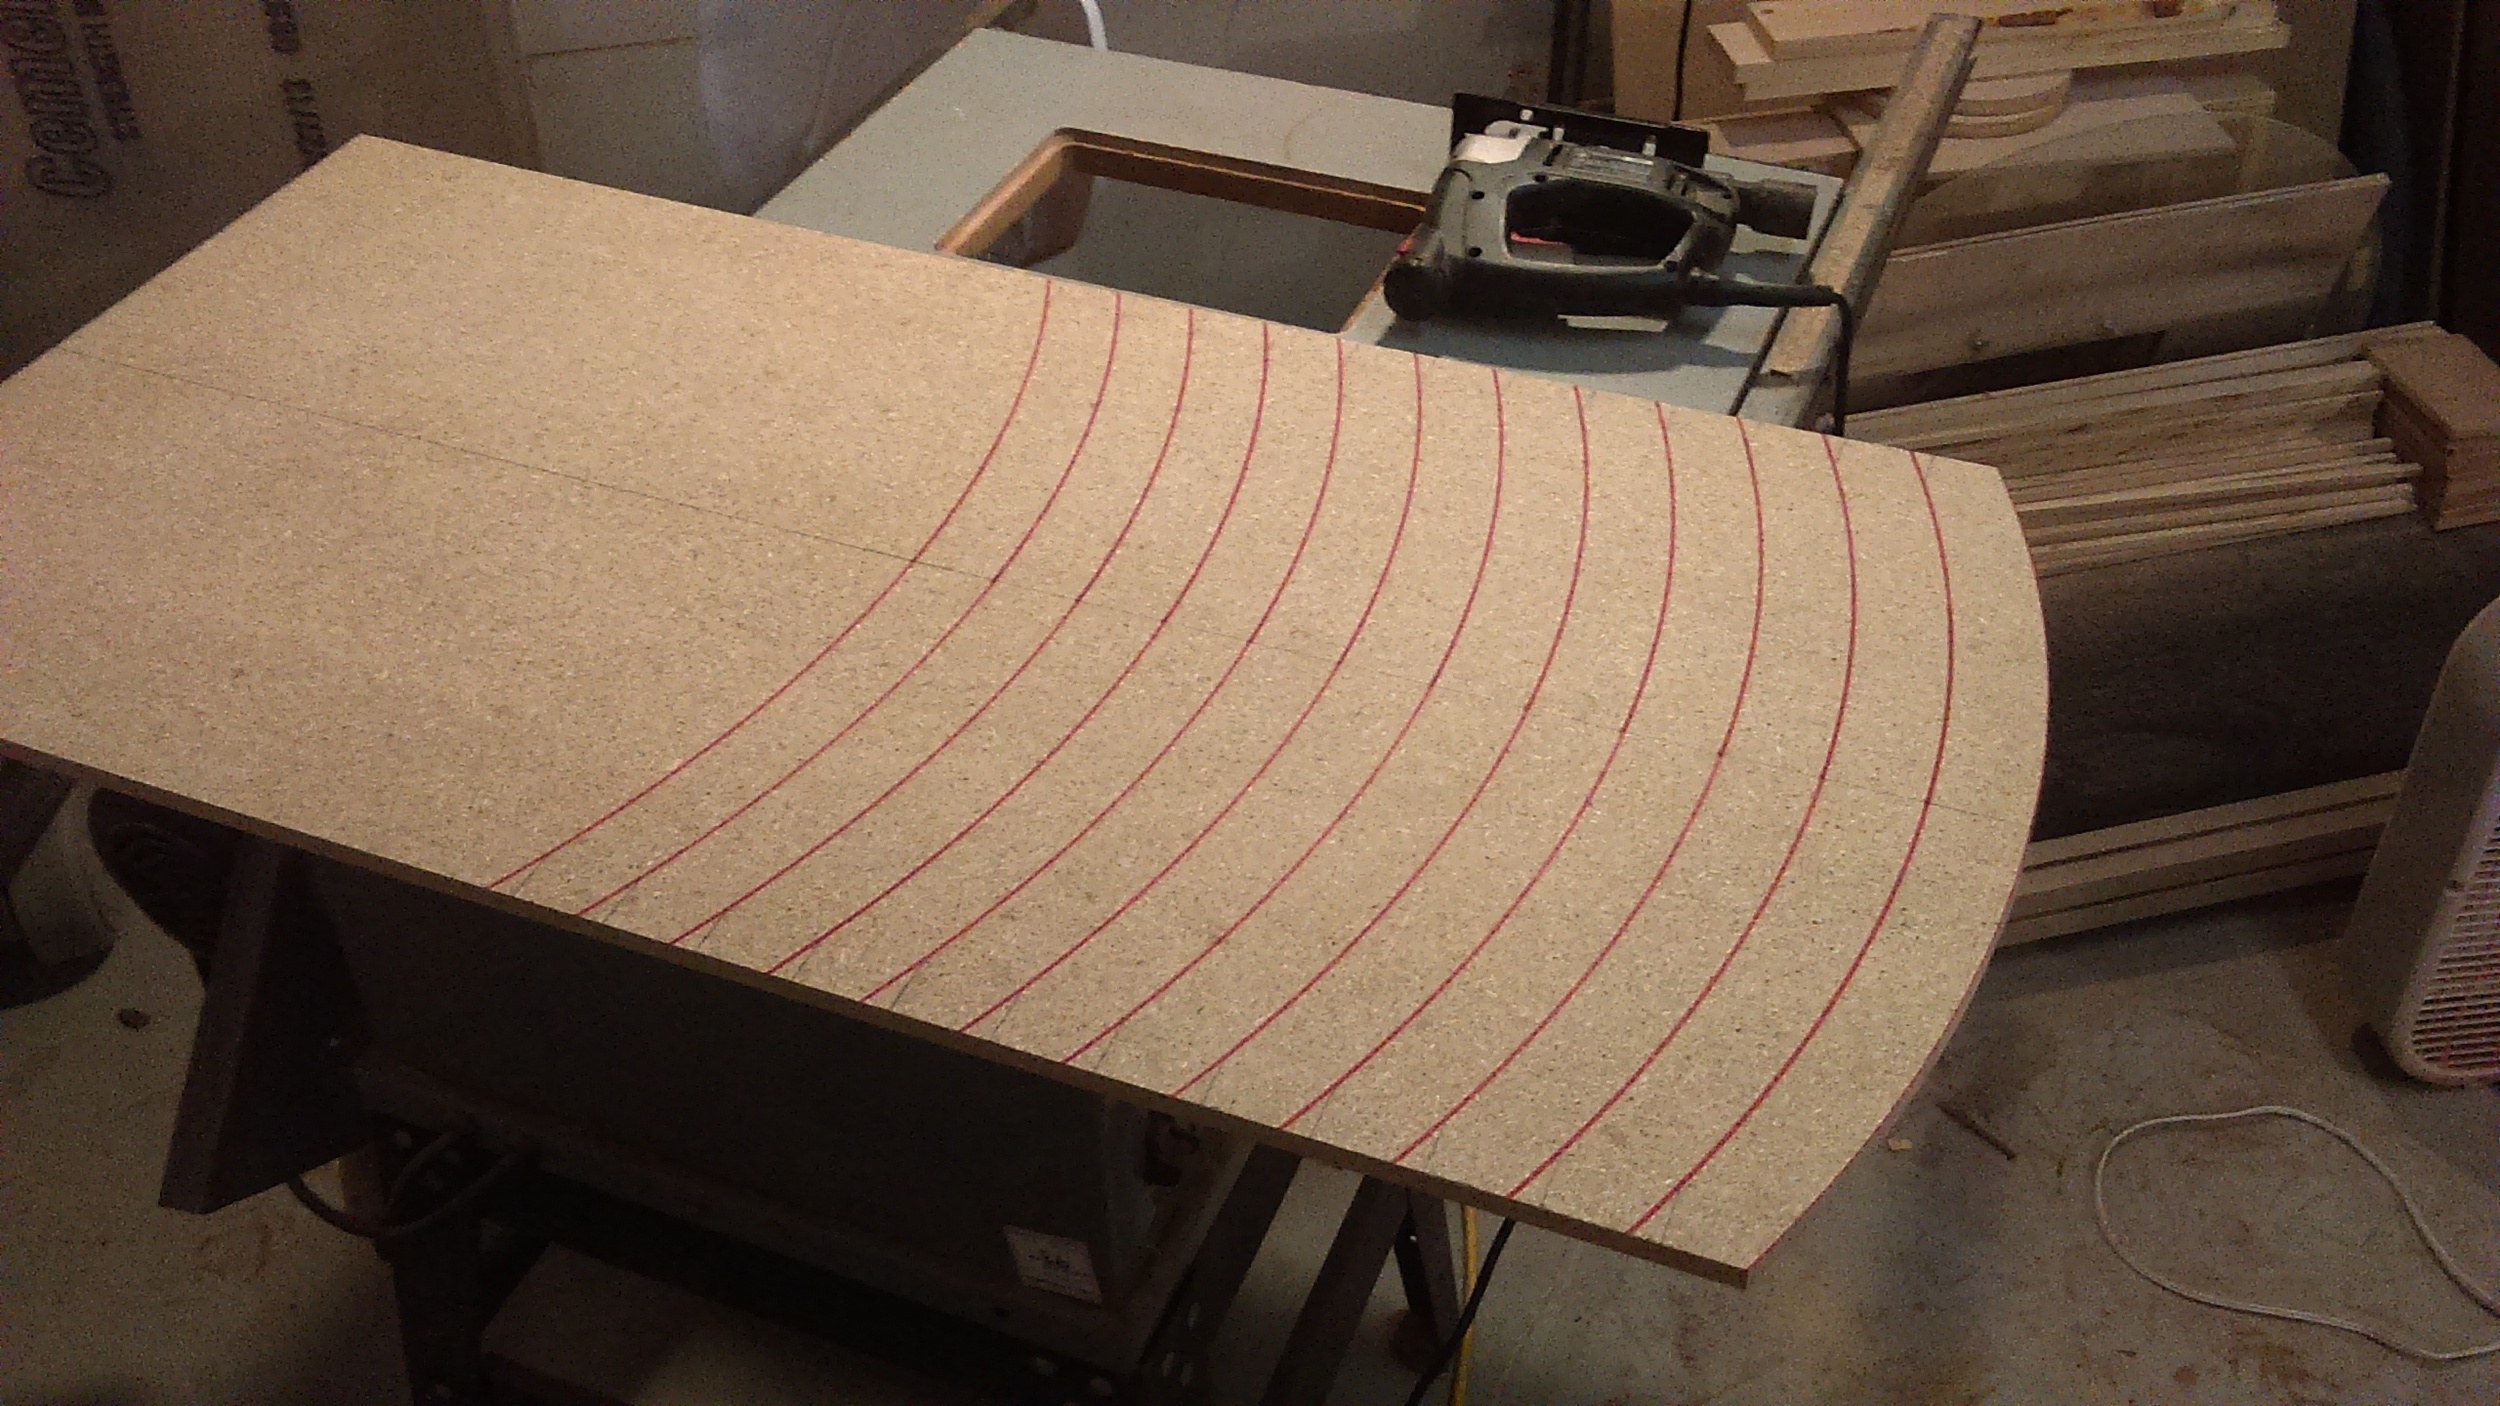
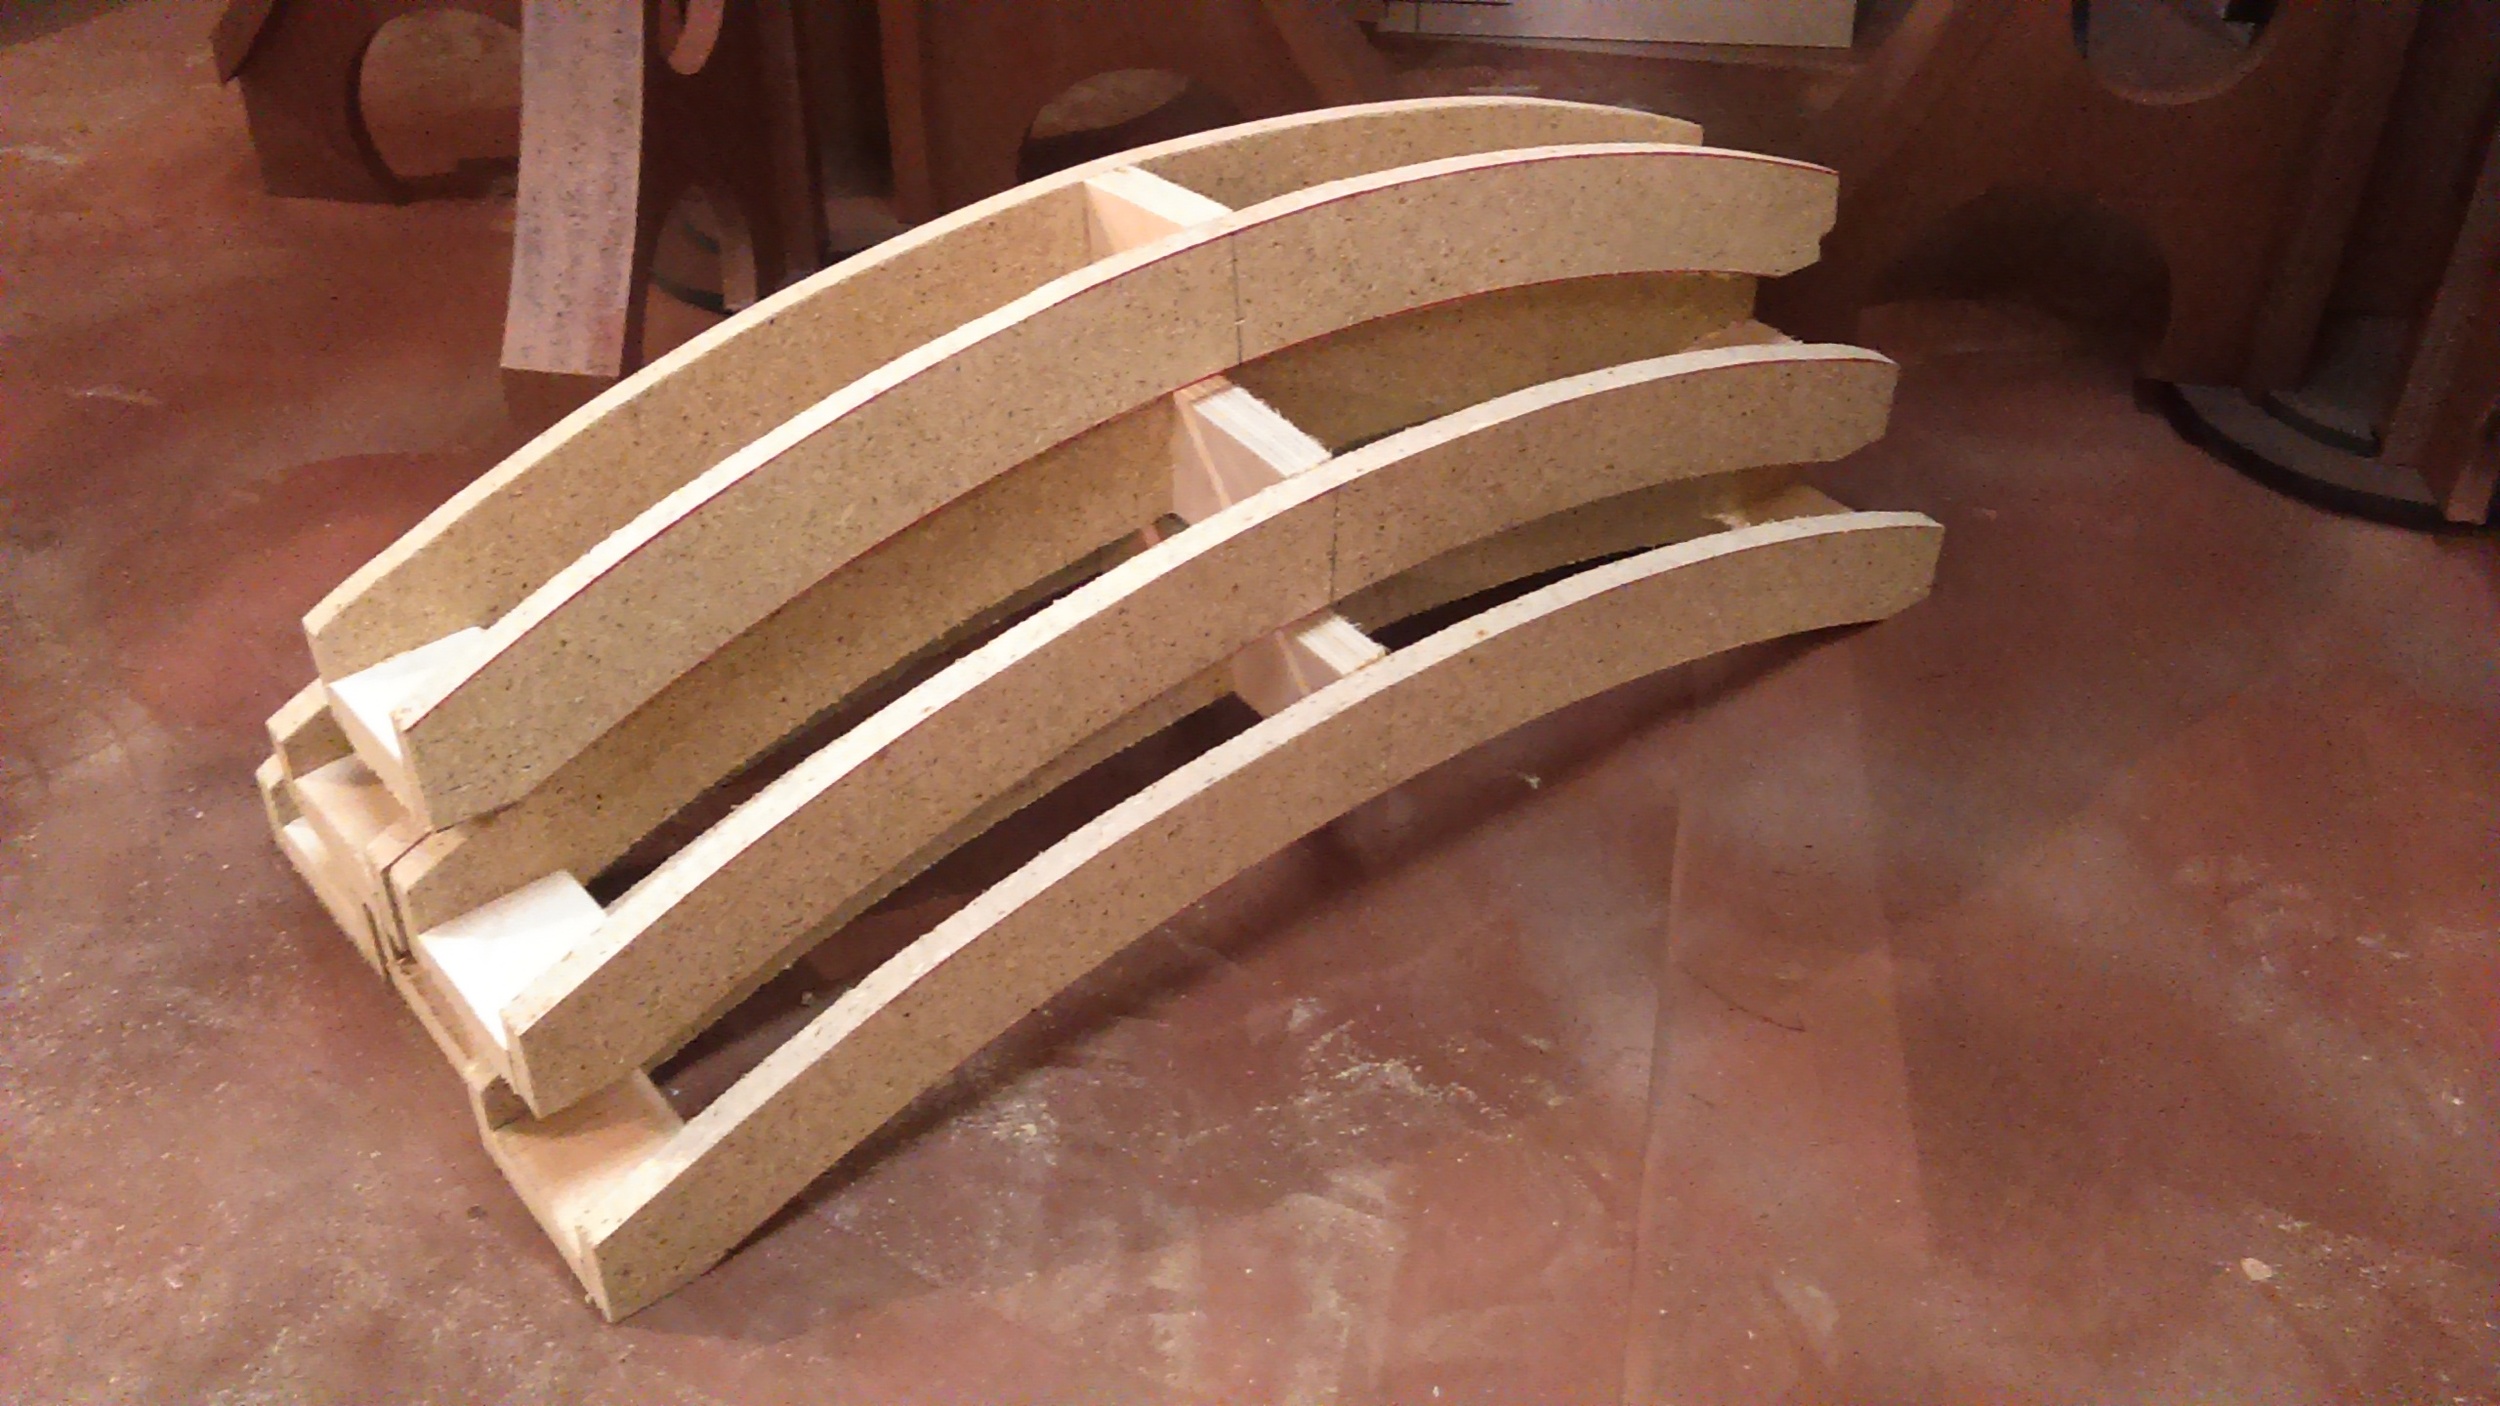
The frame of the clock was made of pine 1 x 4s. The basic structure was a hexagon with gusset plates at the angles and form bracers to make the round shape. The sides of the hexagon were cut to 29.5" with 60° angles on both ends. Two vertical 1 x 4s were fixed to 4 corners to provide the mounting points to which the cabling would be attached for hanging it from the ceiling above the stage. The round form bracers were made of 1/2" MDF. The cylindrical side around the circumference was made of 1/8" hardboard.
The face pieces, hands, letters, and details were all made of 1/4" MDF and cut using a jigsaw. I've NEVER used a jigsaw so much in my life! The gears were made using a custom compass that I had to fabricate using a protractor and a piece of 1/4" MDF. Laying out all the parts to be painted took up an entire bay in my garage. Lots of parts! Three of the gears, the letters, both hands, and the 12 flare pieces were primed using Rustoleum's red sandable primer. The rest were primed using Rustoleum's black primer.
Electrical Components
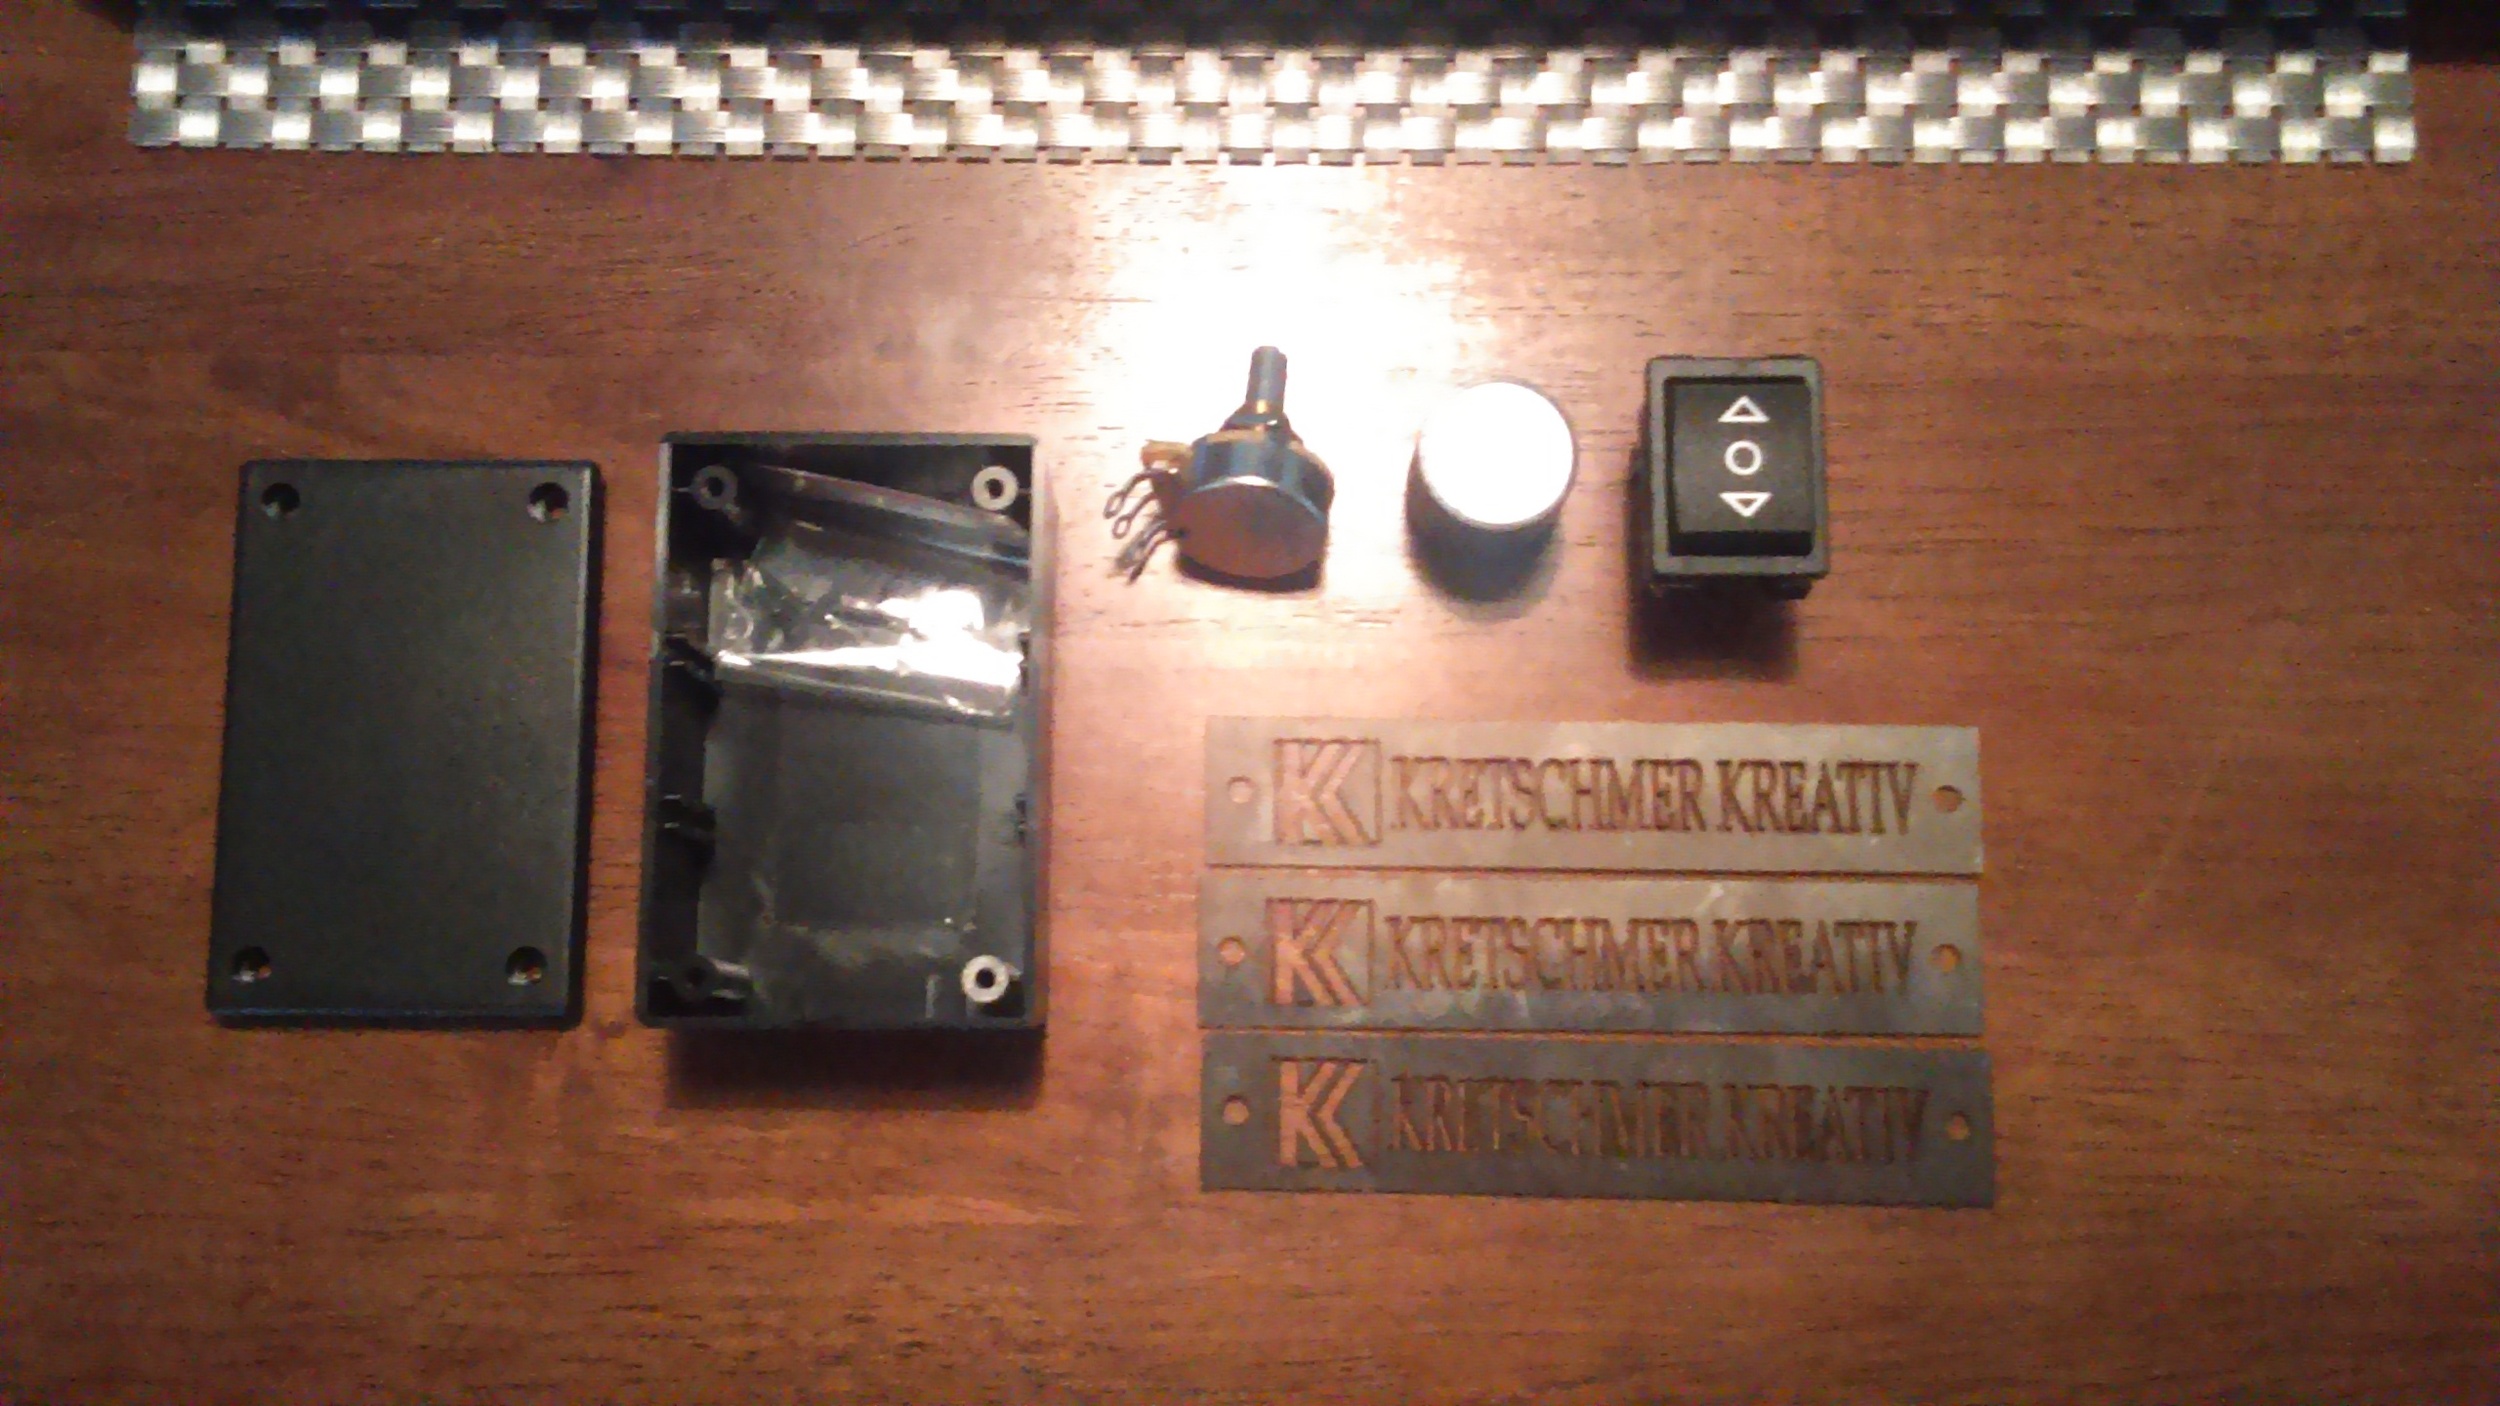
I purchased the following components for this project:
Black ABS project box 3.27" x 2.13" x 1.20"
12VDC / 2A output power supply
I bought the DPDT rocker switch so the motor could be wired to run forward and reverse.
Completion
The gears, letters, hands, and the 12 flare pieces were painted with Rustoleum's hammered copper. The main facade was painted with a foundation of Rustoleum's forest green textured spray paint with hints of Rustoleum's autumn brown textured spray paint to give the appearance of aged and slightly rusted cast iron.


